| Hard Shell | |
|---|---|
 Blaster Master Zero artwork | |
|
Location |
|
|
Reward |
Dive Gear (Blaster Master, Blaster Master Zero) |
|
No | |
|
Weakness |
None |
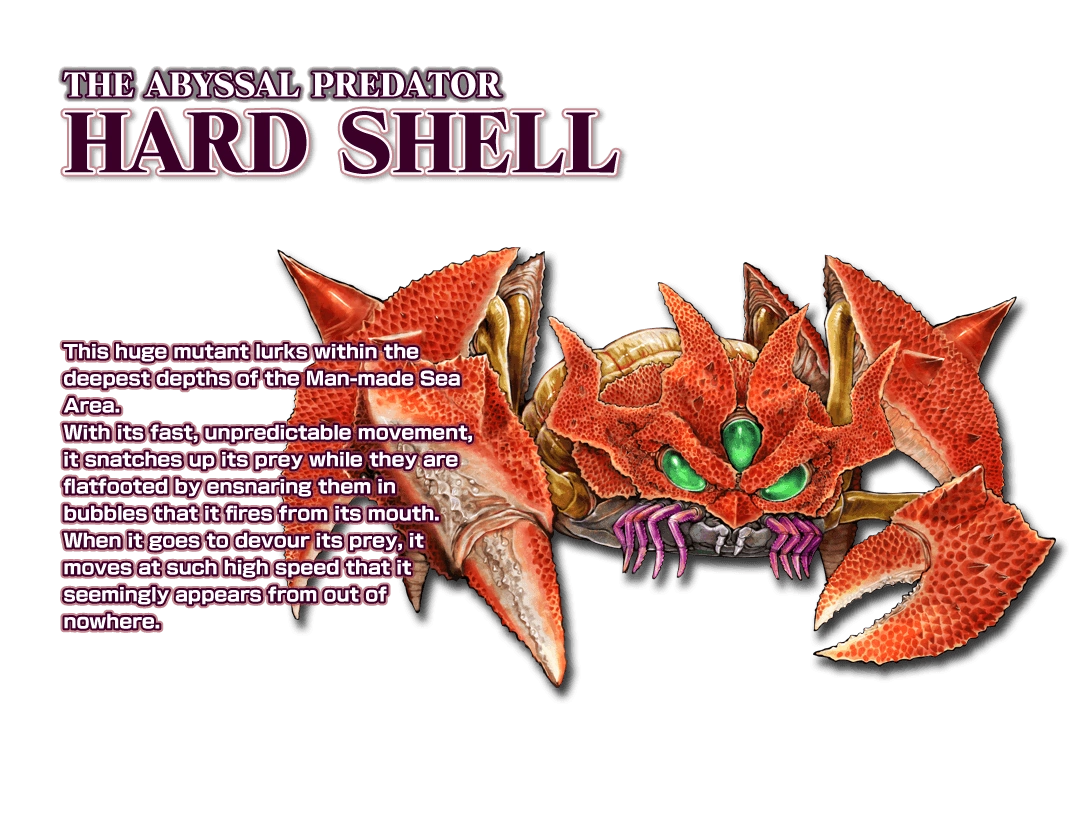
| “ | This huge mutant lurks within the deepest depths of the Man-made Sea Area. With its fast, unpredictable movement, it snatches up its prey while they are flatfooted by ensnaring them with bubbles that it fires from its mouth. When it goes to devour its prey, it moves at such high speed that it seemingly appears from out of nowhere.” |
| — Hard Shell Description • Blaster Master Zero website |
“The Abyssal Predator” Hard Shell is a boss in Blaster Master Zero, appearing as the mutant boss of Area 5. It later reappears in Area 9.
Physical Appearance[]
Hard Shell greatly resembles a crab. It has a red-orange shell, three green eyes, purple cirri, four legs, two claws, a gray underside, and an exposed yellow backside.
General Information[]
Hard Shell initially appears as the mutant boss of the Man-made Sea Area. Defeating it grants the Dive Gear, which allows SOPHIA III to navigate through water with ease.
Hard Shell appears again in the Alternate Dimension Area as the first boss of the dungeon holding Key 5 (the other two bosses being Crabularva and Spark Salamander). Defeating the armored boss mutant this time opens three portals along the right side of the arena (including the return portal to the dungeon's entrance), with only one ultimately leading to the Key.
Attacks[]
Hard Shell’s main attack is spewing bubbles from its mouth, one of which can form a wall of bubbles. Afterward, Hard Shell will usually sidestep to another intersection in the arena. When Hard Shell’s eyes turn blue, typically when it detects that Jason is trying to approach it from the rear, it’ll move around the arena faster and blow bubbles more rapidly. When Hard Shell’s eyes turn yellow, it will refrain from blowing bubbles and quickly move around the perimeter arena; eventually it’ll try to line up with the player and then charge, where it’ll be stunned upon ramming into the wall.
Strategy[]
| “ | Looks like that armor on its front side and legs will repel any attacks I throw at it. It's pretty quick, too... I gotta focus on its weak points and blast them when this thing stops moving. Maybe using my sub-weapons to lay some traps would be effective.” |
| — Jason • Blaster Master Zero |
Hard Shell’s bubble attack is not particularly hard to avoid if the player keeps a fair distance away; even then, the bubbles it spews can be destroyed. While it has green eyes, Hard Shell spews out nine bubbles, the ninth of which is always set to make impact with one of the walls and form two layers of bubbles to obstruct the player; destroying this bubble prevents the bubble wall from appearing. When Hard Shell’s eyes turn yellow, the player should try to follow it around to prevent from losing track of it; Hard Shell will briefly pause before attempting to charge the player head-on, during which the player should try to head to a safe area, to then pursue it once it passes.
Using Reflect, Jason is able to nullify Hard Shell’s bubble attack. By standing up close and reflecting all of the bubble projectiles, Jason is able to deal some damage to Hard Shell, more so if using perfect reflects.
Hard Shell’s shell blocks any shots that cannot penetrate enemies. As such, weapons such as Penetrator, the aforementioned Reflect, and Wave are particularly useful during the battle, as the player will otherwise have to wait for Hard Shell to expose its weak point after attempting to charge at the player, or rely on using Ignition Bombs as traps to get in some extra damage. Using Penetrator or Wave, Jason is able to directly damage Hard Shell at any time.
Using Wave, Jason can attack its weak point at any time; using proper positioning to get maximum damage and throwing a Flash Bomb to induce stun can make quick work of Hard Shell, defeating it in less than 20 seconds.
Hard Shell has no specific weaknesses, but can be stunned for 1.5 seconds (then become stun immune for 10 seconds) if its abdomen is hit by Long Range.
Destroyer Mode[]
Hard Shell is immune to all Gun types, meaning it can only be damaged by Sub-weapons. Despite this limitation, the player doesn’t have to worry much about limited ammunition, as Sub-weapon Capsules are common drops from the bubble walls Hard Shell creates. Jason’s only opportunity to deal damage is by placing Ignition Bomb traps and/or evading Hard Shell’s charge attack and attacking its exposed rear with either a few Grenades or Ignition Bombs; the latter is more risky due to their effectiveness being limited to point blank range, but is more damaging. As most of the battle involves avoiding Hard Shell, the player should be extra careful to keep track of it when its eyes turn yellow, as health is capped at 8 and there is no Energy Guard.
The Hard Shell refight in Area 9 is much easier as the Remote Blast sub-weapon can now be used to deal damage while the mutant is facing the player. Two call-ins will suffice for taking out the boss this time and opening the portals to the next boss.
Damage (Blaster Master Zero)[]
The following list shows how many shots it takes from each Gun and Sub-weapon type to defeat Hard Shell. Stun means Hard Shell will be unable to act for a brief period of time; weapons can only stun every so often in order to prevent the boss from being stun-locked. Weak means Hard Shell will take twice as much damage from the Gun than usual; in-game, they flash red, and are also stunned, when this occurs. Sub-weapons do double damage against bosses compared to enemies to mitigate their limited ammo.
- Blaster: 80**
- Long Range: 80 (stun)
- Penetrator: 80
- Diffusion: 80* (farthest); 32 (closest)
- Auto: 200**
- Reflect: 80 (normal reflects); 32 (perfect reflects)
- Striker: 40
- Flame: 200 (direct only); 80 ticks** (burning only)
- Wave: 160* (single shots); 54 (triple shots)
- Grenade Bomb: 14
- Ignition Bomb: 10
- Turret: 40 (bullets); 10* (explosion)
- Remote Blast: 16 rockets (2 call-ins)
*Value assumed based on presumed damage of attack and health of boss
**Gun attack deals increased damage to this boss
Other Appearances[]
Blaster Master Zero 2[]
Giant crabs resembling Hard Shell are now an ever-present enemy in side-scrolling areas, remaining stationary while firing three-round bursts of bubbles that trail along the ground. They are immune to Gaia-SOPHIA's cannon strikes unless first knocked off-balance by the impact of a sub-weapon.
MetaFight/Blaster Master[]
Hard Shell appears as the mutant boss of Area 5. Attacking its central eye is the only way to damage it. It stays near the top of the arena, moving left and right, occasionally pausing. Hard Shell attacks by spewing bubbles, starting by alternating left and right bubbles, then including a third bubble in the middle, then spewing waves of bubbles with a “width” of five.
Defeating Hard Shell grants Dive, which allows SOPHIA III to navigate through water with ease.
Worlds of Power: Blaster Master[]
Hard Shell appears as the mutant boss of Area 5. It is described simply as a lobster. Jason defeats it while Alex, his friend who he’d recently reunited with, hides in a corner. It is revealed later that Hard Shell was apparently a mutated version of Alex’s pet lobster, Plutarch. This turn out to be untrue, as, like all of the other mutant bosses, Hard Shell is actually a projection instead of a mutated lobster, made specifically with the intent to scare Alex; Plutarch, along with Fred, are found unharmed in the end.
Blaster Master: Overdrive[]
Hard Shell appears as the mutant boss of the Area 1 Ruins. Attacking its head is the only way to damage it, which is usually guarded by its claws. Hard Shell starts in the middle of the arena, and usually moves left and right, but can also move forward and backward, as well as diagonally. Hard Shell’s left claw is now a major claw, with its right being a minor claw. Hard Shell can shoot pink projectiles from its mouth, aimed at Alex; after taking enough damage, it’ll shoot spreads of five projectiles, with a spread of 45° between projectiles and with the middle projectile aimed at Alex. With its major claw, Hard Shell can extend its arm and try to attack with its pincers. It can also try to charge at Alex, indicated by it clicking its pincers twice.
Defeating Hard Shell grants Anchor Kit 1, which allows S.O.P.H.I.A. to grapple onto solid surfaces.
Hard Shell reappears in the Area 3 Subterranean Lake, where it has flame breath instead of the pink projectiles. It drops the Drill Kit when defeated.
Trivia[]
- Uniquely in Blaster Master Zero, Hard Shell is featured in several set pieces before the actual encounter: the player can see its shadow swimming in one room, where a smaller, shed exoskeleton can be found; in another, it can be seen attacking and killing a large aquatic creature.
- A similar boss, Lobster, appears as the mutant boss of Area 4 in Blaster Master: Enemy Below. It moves back and forth and spews bubbles from its mouth. It guards the Gun 1 upgrade, which replaces the Crusher Shot in this game as a method of destroying blocks in side-scrolling mode; this upgrade is used by Jason instead of SOPHIA.
Gallery[]
")
")
| Blaster Master | |
|---|---|
| Areas | 1 · 2 · 3 · 4 · 5 · 6 · 7 · 8 |
| Upgrades | Capsule · Hyper · Crusher · Hover · Key · Dive · Wall 1 · Wall 2 |
| Subweapons | Gun · Grenade · Homing Missile · Multi Warhead Missile · Thunder Break |
| Bosses | Mother Brain · Crabullus · Photophage · Fred · Hard Shell · Frozen Crabullus · Enhanced Fred · Plutonium Boss · Underworld Lord |
| Other Topics | Pause Trick · Worlds of Power: Blaster Master · Blaster Master comic · Blaster Master: Destination Fred |
| Blaster Master: Overdrive | |
|---|---|
| Areas | Ruins · Caverns · Subterranean Lake · Sky Tower · Lava Flow · Ice Caves · Badlands · Ruinous Depths |
| Upgrades | Anchor Kit · Hover Kit · Drill Kit · Dive Kit · Wall Kit · Super Tire Kit · Anchor Kit 2 |
| Weapons | Gun · Grenade · Homing Missile · Blast Bomb |
| Bosses | |